Crawlspace Information: What You Need to Know
In vast areas of the country, crawlspaces have become the foundation of choice. And anyone that has a crawlspace knows what a problem they can be. In this article we are going to look at proper crawlspace design; what goes wrong, and what makes them right.
First and foremost, a crawlspace is formed from the structural components used to hold up a building. Most often these structural components consist of a footer and a stem wall, with some minor variations that may include piles or piers. This type of foundation is appropriate where deeper foundations are needed because of frost or where they are preferred for convenience or preference. A really deep crawlspace could also be called a cellar or a basement. There is nothing inherently wrong with this foundation style and like all foundations; they have their pros and cons. As we proceed we are going to discuss some of the various ways to make a better crawlspace including does and don’ts followed by our suggestion for the ideal budget space and the top of the line show space; essentially, the Volkswagen vs. the Cadillac solution.
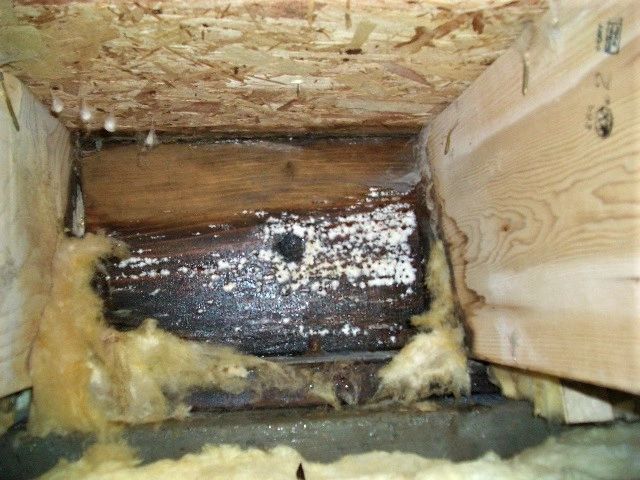
Elevated humidity is probably the number one enemy of crawlspace durability. Elevated humidity leads to mold, rot and can eventually cause damage all the way to the attic. Vermin, microbial VOC’s (odor) and radon follow not far behind. As a leading cause of poor indoor air quality crawlspace are also at the front of the line when it comes to energy losses. The solutions are simple and not always expensive. So here are the leading causes and cures of excess humidity in a crawlspace.

The first step in humidity control is to eliminate standing water. Immediately you might think “easy” I will just install a sump pump. However, that may be the most expensive mistake you could make. Succinctly, there are very few locations where a sump is truly needed or desired. Standing water in a crawlspace is rarely from a true underground source. There are some exceptions in areas like river valleys or irrigated farm ground. Water in a crawlspace is almost always from surface sources such as precipitation runoff or landscape irrigation. These surface sources find their way into crawlspaces because of poorly designed roof runoff, inadequate grading or porous utility trenches. So it is important to find the source and I will tell you why.
In Colorado and many areas of the country buildings are supported on a type of soil called clay. Clay soils are very common from Durango to Grand Junction and beyond. Many of these clays have unique characteristic when they interact with water that cause them to expand with forces of thousands of pounds. It is absolutely imperative to control water deposition near such sensitive soils to prevent foundation heaving and settling.
If you live in Western Colorado, odds are that your building is constructed on clay soils. The other interesting feature of clay soils is that they don’t percolate well. So when your crawlspace fills with water, it stays there. But the flip side is that water also has a hard time finding a way into the space unless it has some help. A sump pump is not even a good band-aide. Other problems with sump pumps are that they fail, they are expensive to install and it is usually illegal to pipe them to your household drainage system. So, consider very carefully the idea of using a sump pump to control water in your crawlspace.
Let’s assume that you have the standing water issue under control. You have corrected your grading, fixed your downspouts and sealed your utility trench. The next source of moisture you must correct is that which is in the soil naturally. Water vapor continuously moves from your soil to the surrounding atmosphere. Only in the driest conditions is this not a problem. It is not abnormal to a have moist soil in a crawlspace, as it can only be as dry as that outside the building (because water moves laterally through the soil as well as vertically). In all cases, moisture vapor is emitted from soil to some degree. This is the other source of water vapor (humidity) that must be controlled. To control this source we block the soil with a vapor retarder.
Hopefully, the term “vapor retarder” is sufficiently descriptive. A vapor retarder inhibits the passage of water molecules from one side to the other. It is the most important part of your crawlspace environmental control system. Often, a good vapor retarder is all you need to control humidity and prevent the occurrence of mold and wood rot. However, how and where it is installed affects its “vapor retarding” properties. A vapor retarder that does not cover all of the wet surfaces or that leaks is not a complete solution. The concrete around the crawlspace absorbs and emits water as well. Gaps and cracks in the vapor retarder let moist air bypass. And finally, a vapor retarder is not a vapor barrier. So a vapor retarder should be sealed or lapped to prevent moisture bypass and it should cover the concrete stem wall…..usually. Usually? There are instances where you must never attach your vapor retarder to your concrete stem wall. So let’s discuss concrete stem walls and how they interact with you environment and your structure. We will also bring up the subject of soil types and how this affects your installation of a vapor retarder.
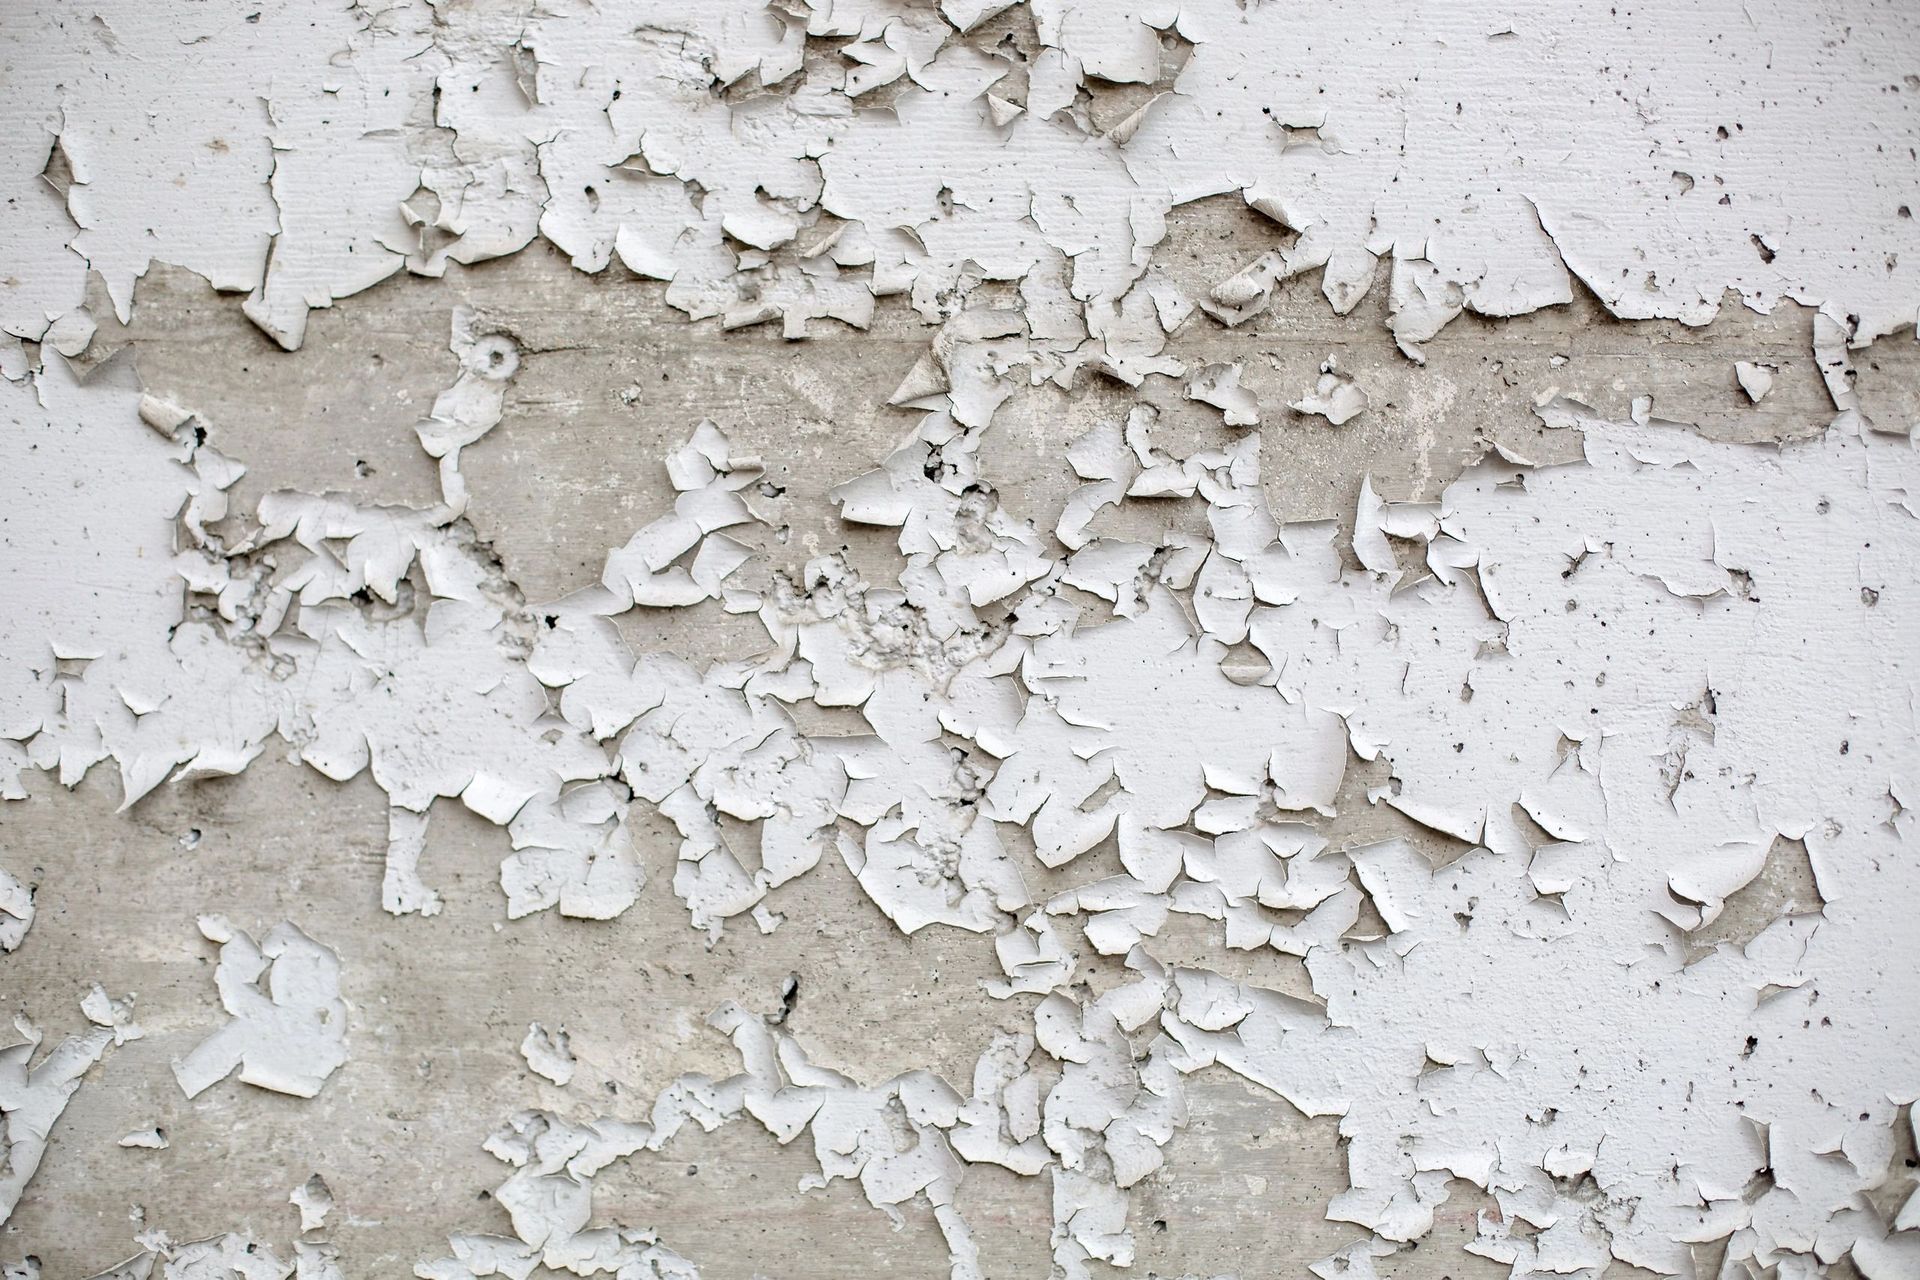
Concrete absorbs water readily. And like soil, it will emit water vapor continuously as long as it is contact with moisture. Water will follow a three-dimensional path from a source through the concrete, easily rising several feet or more. But, depending upon your soil type, the water also carries dissolved minerals. The phenomenon is often seen as white staining or crystalline deposits upon concrete foundations, usually above grade where the water evaporates and leaves the salt deposits behind. Usually this is only an aesthetic issue except in the presence of certain types of minerals called sulfate salts. Nowadays we have sulfate resistant concrete, but older foundations suffered spalling and degradation of the concrete above grade. The damage due to this phenomenon is mitigated to a degree by allowing some evaporation to occur on the inside of the foundation (if possible, drying the soil near the foundation can help as well). Placing a vapor retarder over the foundation stem-wall forces all of the moisture to evaporate at the thin strip of concrete at the top of the exterior of the foundation, thereby increasing the salt formation and concrete damage. If a foundation already shows signs of sulfate damage, do not use a fully encapsulating vapor retarder.
We often get asked; “What is the best vapor retarder to use?” The answer; the one that works and suits your budget. The cheapest thing to use is standard 6 mil. (0.006”) polyethylene that is available in most building supply houses. It works, has worked for years, and will continue to work for years to come. Don’t let anybody tell you otherwise. However, standard 6 mil “poly” has its drawbacks. It is not very strong or tear resistant. If you have the need to access your crawlspace periodically, 6 mil poly will not hold up very well. This is where reinforced membranes are preferred. Look for a vapor retarder with an ASTM E-1745 rating. Some of the scrim reinforced polyethylene works quite well, although they may not carry the ASTM E-1745 rating. Cross-laminated poly is an alternative and has proven durable, easy to install and easy to adhere. These products are available in 4 mil thickness and work well for the application, especially when rated to ASTM E-1745. The sky is the limit as there are purveyors of all kinds of more durable systems. Let your wallet be your guide. With any material it is preferred that all seams are sealed and the edges of the vapor retarder are glued to the concrete for the best control of moisture and soil gases. Remember to remove organic debris and sharp objects prior to installation.
At this point you will have an attractive and somewhat dry space. So this is where is gets interesting as you have one last thing to do to ensure a clean and moisture free space; ventilation. The building code (IRC 2009) is fairly specific. The easiest thing you can do is use passive ventilation via foundation vents. With an installed vapor retarder the “code” specifies that all of your foundation vents combined must have a “net free area” (NFA) of not less than 1/1500 of your floor area. So for a 1500 square foot crawlspace that means that the total open area for all vents combined must be one square foot (based on actual published or measured NFA). It seems rather “rule of thumb”, but we have never observed a failure when this prescriptive criterion is followed in conjunction with a properly installed vapor retarder. Some other code required provisos are that there must be a vent within three feet of each corner and the location of the vents allows for cross ventilation. Cross ventilation is best achieved by placing one-half the vents on one side of the building and the rest on the other side. Operable louvers are okay, just don’t close them all of the way.
There are some problems with passively ventilated crawlspaces. The foundation vents look terrible. Over time floor of the space collects a lot of dust. In-artfully installed utilities can freeze in the winter when ventilating with cold air. There is a huge energy penalty for crawlspaces with installed HVAC and in-floor heat systems. Insects and spiders like to crawl through the screens and set up shop. Since passive ventilation relies on wind, this scheme doesn’t work too well when it is not windy. Passive vents can be blocked by snow in the winter (when ventilation is the most critical). Sometimes the air ventilating the space is humid as during the rainy summer months. That can affect wood flooring. And finally, because this type of ventilation requires wind, it means that the space is positively pressurized relative to the house. Positive pressure will cause whatever contaminants that remain in the space to be forced into your home. Although vapor retarders inhibit moisture migration, soil VOC’s and radon, they only “retard” their passage. Finally, positive pressure forces the unconditioned air in your crawlspace into your house. But, carefully managed, passively ventilated spaces work just fine as they have done for decades, as long as you understand their limitations. If you choose this route, install a remote indicating hygrometer-thermometer to track the conditions in your space. Go ahead and adjust your foundation louvers in the winter to keep out cold air but watch your humidity and temperatures. Note: These recommendations are only pertinent to cold, dry climates like in Colorado.
If for one of the above reasons you see certain aspects of the passively vented crawlspace in the negative, consider the alternatives. These alternatives are called “Unvented Crawlspaces” or “Conditioned Crawlspaces”. It doesn’t mean that they are not ventilated, just not vented with foundation vents. The simplest plan is to close or not install foundation vents but install a mechanical ventilation system (fan or blower) that exhausts to the outside. The “code” allows you provide supply air to the space from your HVAC system or the interior of your home, but this is not preferred as it causes the space to be positively pressurized. Exhaust ventilation negatively pressurizes the crawlspace. An exhaust ventilation scheme can be as simple as extracting air from one side of the crawlspace and discharging it outdoors. On the other side of the space a “make-up” air opening is installed in the floor to allow conditioned air from the living area to replace that which is exhaust from the crawlspace. The code specifies a small amount of air for this purpose; 1 cfm per 50 square feet exhausted continuously, and that has proven adequate. However, it has also proven to be too much. Sometimes you don’t need that much ventilation. In such a case the fan may be operated by a de-humidistat. Also, the reality is that installing such a small fan and expecting good cross-ventilation is impractical. Leakage through the floor will more than make-up the exhausted air and you may end up with dead air spots in remote areas of the space. A larger fan operated on a centrally located de-humidistat works better. For a small space, leakage air is adequate for air make up. For larger spaces transfer openings are preferred and careful sealing of through floor penetrations will help direct the air flow.
If you are creating a conditioned (unvented) crawlspace it is important to change the way your insulation is installed. That is a “code” requirement, but most important, it is common sense. The purpose of a conditioned space is to mitigate many of the faults already mentioned. Warm air is used to ventilate the crawlspace, either from the interior of the home or the HVAC system. That being the case, insulation must be located on the perimeter walls of the space, just like it is on the above grade portions of the building. If one chooses to convert to a conditioned space, the insulation already installed on the subfloor can be used on the perimeter foundation walls and joist cavities. Conditioned spaces should be mandatory if heating utilities are installed therein. Heating ducts leak, by some estimates up to 15% and probably more considering the nature of construction these days. Keep that heat in your building.

One of the problems with a closed crawlspace is that the exhausted must be replaced by air from the outdoors. The exhaust air is warm and the incoming air is cold (or visa versa). The cold air is derived through leakage around window and doors unless you provide a direct path. So it begs the question; Why are we creating a conditioned crawlspace by using unconditioned make-up air? Why not just ventilate the crawlspace directly with outdoor air? One way or another there has to be a source of make-up air, even though it may be a small amount. One answer to this problem allows us to solve a couple of problems. Depending upon the requirements of the approved building code in a particular area, fresh supply is required in the living of buildings. By combining the exhaust air requirements for crawlspaces with the fresh air supply for living areas, we can kill two birds with one stone. The means for doing this incorporates a device called a heat recovery ventilator (HRV). The HRV, properly configured can provide the exhaust air requirements for the crawlspace and the fresh air requirements for the living area. The heat exchanger in an HRV is able to extract the heat from the exhaust air stream to pre-condition the air coming in for living area ventilation. A good HRV can be adjusted carefully to provide a balanced flow of air at any rate desired depending upon the particular needs of the building or occupants. By using an HRV to continuously circulate air from the outside to the living space and then through the crawlspace we are able to create an ideal living environment from the perspective of indoor air quality (IAQ), energy efficiency and crawlspace environmental control. It is an elegant solution.
In summary, here are the Volkswagen and the Cadillac solutions that we discussed.
The VW
- Correct all drainage issues.
- Passive foundation vents with adjustable louvers.
- Loose laid, overlapping 6 mil Polyethylene membrane.
- Insulation in subfloor.
- Install remote indicating thermo/hygrometer.
The Caddy
- Correct all drainage issues.
- Close or remove all foundation vents.
- Install an ASTM E-1745 vapor retarder, sealed at all edges and laps.
- Place insulation at perimeter of crawlspace.
- Install properly balanced two speed HRV, exhausting from crawlspace, discharging into living area.
- Operate HRV with a dehumidstat.
- Install passive ventilation openings in floor for maximum circulation.
- Install a remote indicating thermo/hygrometer.
- Enjoy a high performing, clean building.